Tuesday, October 23, 2012

Next step complete!

 
Backing to the dresser/island is on!


Got the bottom pieces attached as well - the whole piece is nice and stable!


Back and insides of the piece are primed and ready to paint in the next couple days.


We are still searching for an inexpensive counter top to add to the island - we will keep you updated!

Monday, October 22, 2012

Primer - check!


Primer is applied! I made sure to get three thin coats of primer. This way, the cover is more consistent, and when I go to spray-paint the dresser, chipping is a lot less likely.
 
Next step - adding the plywood to the bottom and the back (hence why the dresser is upside-down).


We are still searching for a counter top that will not break the bank. The cabinet knobs came in, and they are even more beautiful in person - I can't wait to see them on the finished product!


Saturday, October 20, 2012

Kitchen Island Here We come...

 
The material that was on the back and bottom of the dresser and that also separated each drawer level was a heavy pressed cardboard, so we removed it. We will be replacing the very bottom and the back with a thin plywood. That will help to keep the dresser supports solid, and also give a paintable surface on the back. The piece on the bottom will have the basket on each side sitting on it.

 
And the sanding took no time at all.


Lolo bought me my very first power tool - an orbital sander. She rocked the sanding. It was easy to hold, did not make my arthritic joints in my hands hurt, and she is easy to maneuver. I have named her Suzie the Sander ;-) I love Porter Cable tools - that is the only brand we own.
 
 
Next up will be the wood filler to fill in nicked spots. Those areas will get sanded down again, and then I will primer the whole cabinet. Lolo will be buying the particleboard and the brackets to get the pieces attached and to completely stabilize the while thing. Thanks to The Frugal Girl for excellent tips on how to correctly paint furniture.
 
 
More to come...

Friday, October 19, 2012

Found it!


Found it!
 
Meet our soon-to-be kitchen island! My plans are to take the bottom two drawers in each corner and remove them. Baskets will take their place to hold potatoes, onions, etc...  It will be painted black, then sanded at the edges to give it an antique feel. I also found these for the remaining five drawers...


Vintage Japanese cabinet knobs. I love eBay!
 
 
I will post more as work progresses - sanding first, then we'll see what else needs to be done.
 

Looks Awesome!


Our new, bright kitchen!


The kitchen so so very much brighter that i thought it would be!

 
It's hard to see, but the ceiling has the same paint - I just added white paint to make it several shades lighter - it worked like a charm!
 
 
The old, brown cabinet? Looks brand new!


We found this neat rolling storage shelf that is a scant 5" wide - it was perfect for the space left over between the new tall cabinets, so we bought 2 sets and snapped them together - fabulous!

 
I love, love, love these curtains! They are a perfect balance to the white of the cabinets.


Next up will be to complete the area in the ceiling with the light. It needs to be drywalled in and painted white. We found a light fixture we like, but we are waiting to see how the area turns out before deciding for sure on the light fixture we will buy.
 
 
We also will be looking for that perfect dresser to turn into a kitchen island. I will post as soon as we find it!

Thursday, October 11, 2012

In the home stretch...


The kitchen looks so much lighter and brighter! cabinet doors are not on yet - we need to paint the ceiling before we put those back on - don't want any drips!


I just can't believe how different it looks - it doesn't even look like it's the same kitchen at all! (except for the nasty floor, but that will go away eventually)


And the cabinet handles came it - they look even better than I had imagined!


So, the big red wall at the back of the kitchen also still needs to be painted - I will have to have my husband's help with that, but that should be done by this weekend. I hope by Sunday, our kitchen is put back together.

I also found inspiration for an island. I came across a blog - Dishfunctional Designs - that showed some really awesome ideas to re-purpose old dressers for different things, including a kitchen island! I am so totally going to do that. I will be keeping my eyes peeled on craigslist to find one that I can rehab so it will look fabulous in my kitchen!

Monday, October 8, 2012


New cabinets are installed on the far wall, and the painted original cabinet is put in place as well! We had to put our table and bench seats downstairs, which we will use as a homework table and family game/gathering table. We will be looking for a bistro table set in the future to have a table to sit at.


In the next couple days, the handles should arrive, and I will start the painting of the kitchen. A lot of prep will go into that as well - scrubbing the baseboards of dirt, wiping off any cobwebs, taping off areas. the green will be on the walls and ceiling as I had previously mentioned, but the two doors and the trim in the kitchen will be white for a nice contrast.
 
 
Next post will be in a few days when either the handles are on and the doors are attached, or when painting is done - whichever is first.


Cabinet frames and drawers are done!


Doors are nice and shiny and white!


No more ugly brown cabinet! It turned out so pretty - so very glad we decided to re-use it instead of looking for something else. That allowed us to put the money into something else we needed in the kitchen - window treatments!


I will have to say a couple things. The process was pretty dang easy, and there was more than enough tinted coat to take care of everything. I have noticed a slight yellowing in places. it looks to be where I did not do enough of a good job on wiping off the deglosser. The instructions say to make sure ALL deglosser is removed, and they weren't kidding. I'm not too worried about it, tho. The overall look will be so nice it will be hard to see once everything is put back where it goes.


Prep is always the worst, and seems to take the longest. Taping off everything is very important, tho - I have no desire to get white paint all over our new stove or dishwasher.


Also don't want to drip anything on the microwave or the floor. Before we paint we have to use the deglosser out of the kit, and it seems like it will be some powerful stuff. Good thing, too. I didn't realize how dang dirty the tops of the cabinet doors weree, or how much grease accumulates, even when you make a practice of cleaning them on a semi-regular basis.
Ew.


Filled the ugly lines on the doors. That will be the biggest thing in making the cabinets look new.

 
Total of 19 doors and drawer fronts to fill and sand. I love the cordless sander we have.


Frames deglossed and ready to paint. Drawer fronts sanded & deglossed and ready to paint.


Doors are sanded and deglossed and ready to paint. We don't have work benches, so we set up some extra trim we had in the garage into rows to set the doors on so they would dry properly. Total time to prep and degloss everything - 6 hours.
 
We will be using this to reface the cabinet doors and frames white, as well as painting the ugly brown cabinet to match. Luckily, it just takes a little elbow grease, and no complicated tools at all. the kit is around $75.00.


Found these brand new handles on eBay for $1.97 each. That's $37.00 for 20 new handles for the cabinets and doors. With free shipping, it was an even better deal. Lowes had plain handles for $2.87 each - they were BORING and way too expensive for what you were getting.


The hinges from the cabinets - before and after. We decided to save a little money and spray paint the hinges black. With just the cost of a can of spray paint, it looks like we spent a lot of money on new hardware.


Found these on eBay for $33.00 a pair. Got two pairs - one for each window. They will frame the window, and with the sheers left between, we will get plenty of light, but we will also have privacy.


Two of these cabinets will go on the war wall of our kitchen. Found them at Lowes for $138.00 each. We will get much-needed storage, and the ugly brown original cabinet will be painted white and will go next to them on the far wall for even more storage and a little more counter space.


The top color, Birch Forest, is the color that will go on the walls and ceiling of the kitchen. I can't stand white walls, and there is no reason not to paint the ceiling as well. (Most of the ceilings in my house are painted a different color than white). I love it!

In the beginning...

..was a really, really ugly kitchen.

Bad country style (I cannot fathom how ANYONE likes this style of anything - it blows). No storage, original, asbestos-laden vinyl flooring, really bad flourescent lighting, and curtains salvaged from another room just so we had something to cover the windows.

 
I had already taken the doors off before I realized I did not get pictures of the kitchen with them on. It's just as well. The look was bad enough to make your eyes burn.


I have no counter space at all. Everything is jammed into the cabinets I do have, and we have two cabinets in the garage that act as our pantry and our small appliance storage. It sucks.


This is the last, original cabinet from when the house was built in 1965. Brown is so awesome. Not.
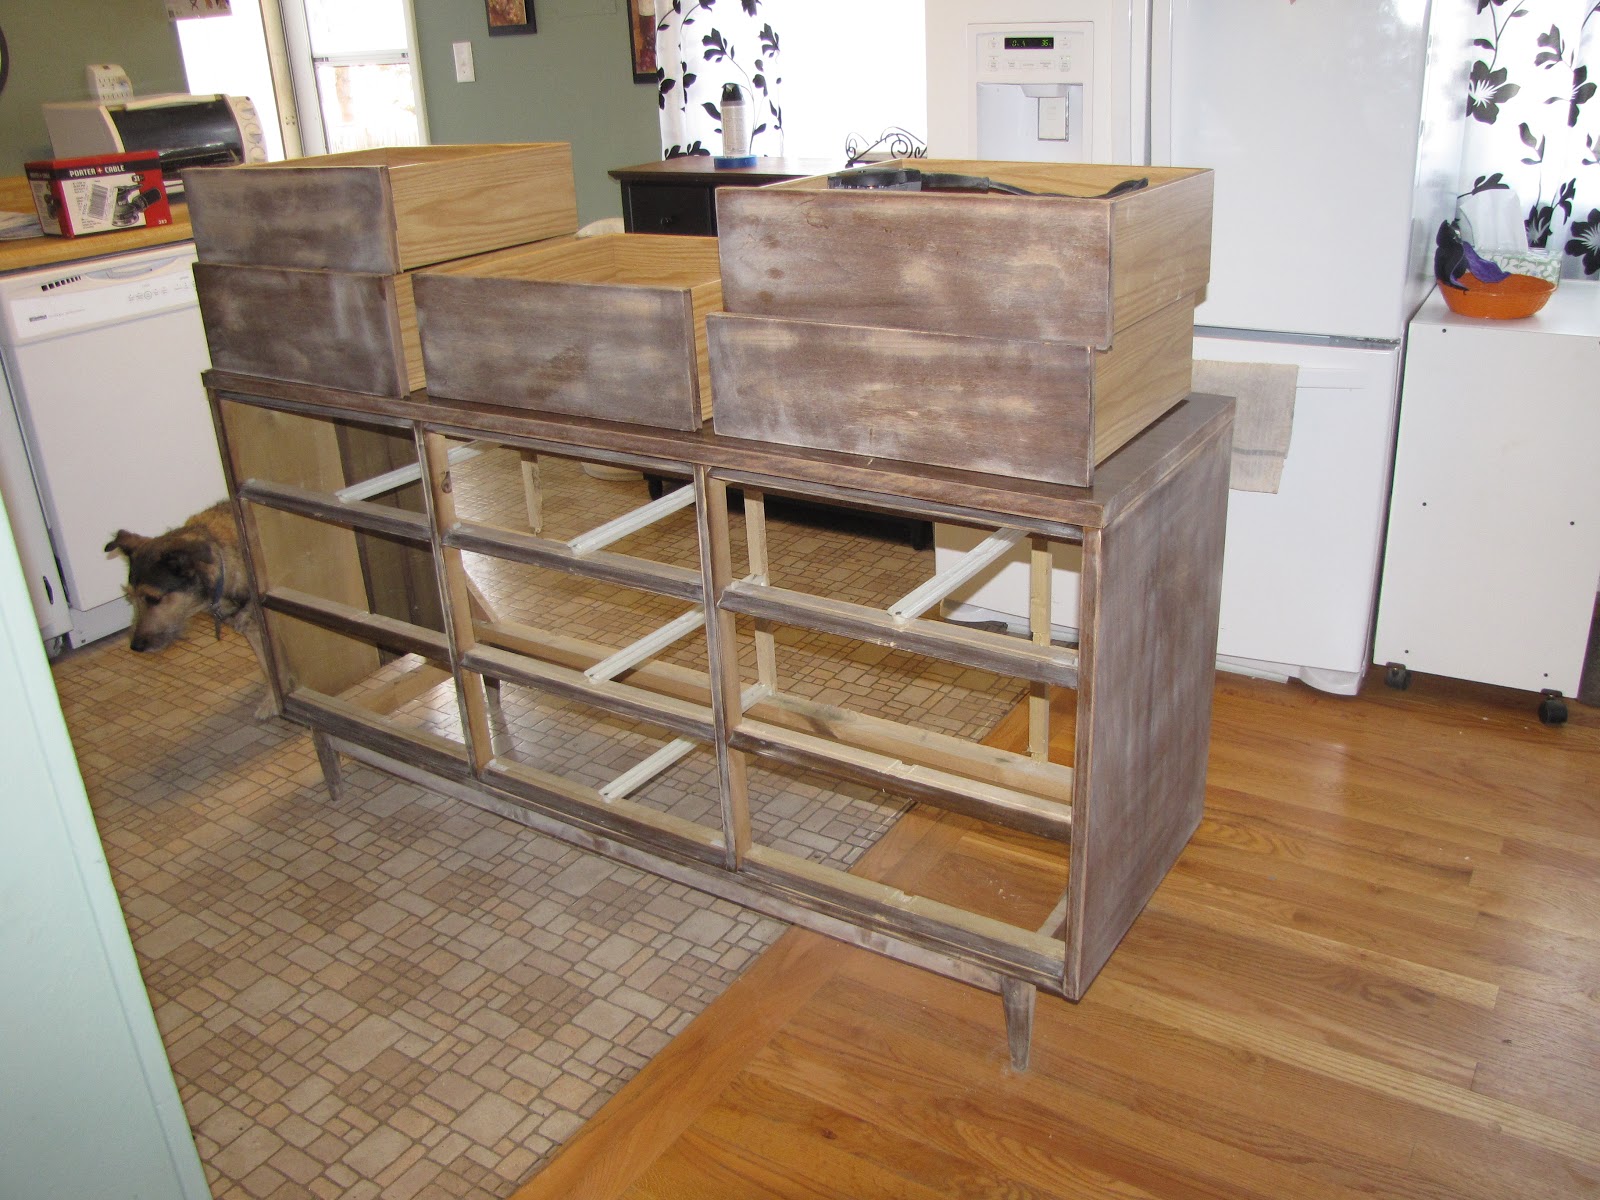
This cabinet was in the laundry room downstairs, and we decided to salvage it and put it to good use in the kitchen. Why go buy something when we have something perfectly usable right at home?


We had to buy a new stove, because the ancient one we had finally died. Don't you just love the orangy-reddish stain on the cabinets? The handles give them a nice touch, too. Oh my.


Here's a closeup of the kitchen cabinet doors. I swear the previous owner picked the chceapest cabinets they could fine, along with the cheapest stain and handles, and decided it was a good look for them. I would like to find them and slap them upside the head for their bad taste.
 
 
Here's where the flourescent light is in the kitchen soffit. We had to finally remove the original one becasue it stopped working. It was so old it had started to melt. We will drywall around the area where the light is, and put in a nice new light.

 
The windows - I already chucked the bad curtains and out up sheers for now. They will stay, and I found some pretty black & white curtains to frame out the windows. My vision is pretty grand on our very extremely limited budget.
 
 
Our goal is to refinish the cabinets white, and refinish the countertops black. We will be adding storage to the far wall in the kitchen so we can bring the stuff in the garage back into the house. The kitchen will be repainted green - walls and ceiling. New curtains will help the windows, and eventually (a year or two down the line) we will bring the hardwoods that run throughout the house into the kitchen area, move some appliances around, and add an island.
 
 
It will be nice.